Gravelrings
Gravel grid system
Gravel surfaces have always been a popular choice for residential and commercial properties because of their classic aesthetic. However, standard loose aggregate often leads to migration, rutting, and messy edges that frustrate clients. This is why a high-quality gravel grid system is now an essential specification for professional projects. Modern ground reinforcement technology allows contractors to deliver a stable, permeable surface that stays level under vehicular traffic. By locking stone in place, these systems prevent the common pitfalls associated with traditional gravel installations. For contractors, using a reliable grid means fewer callbacks for maintenance and a higher level of customer satisfaction. This guide outlines the professional approach to installation, ensuring you achieve a durable, visually clean finish that stands the test of time while meeting rigorous load-bearing requirements.
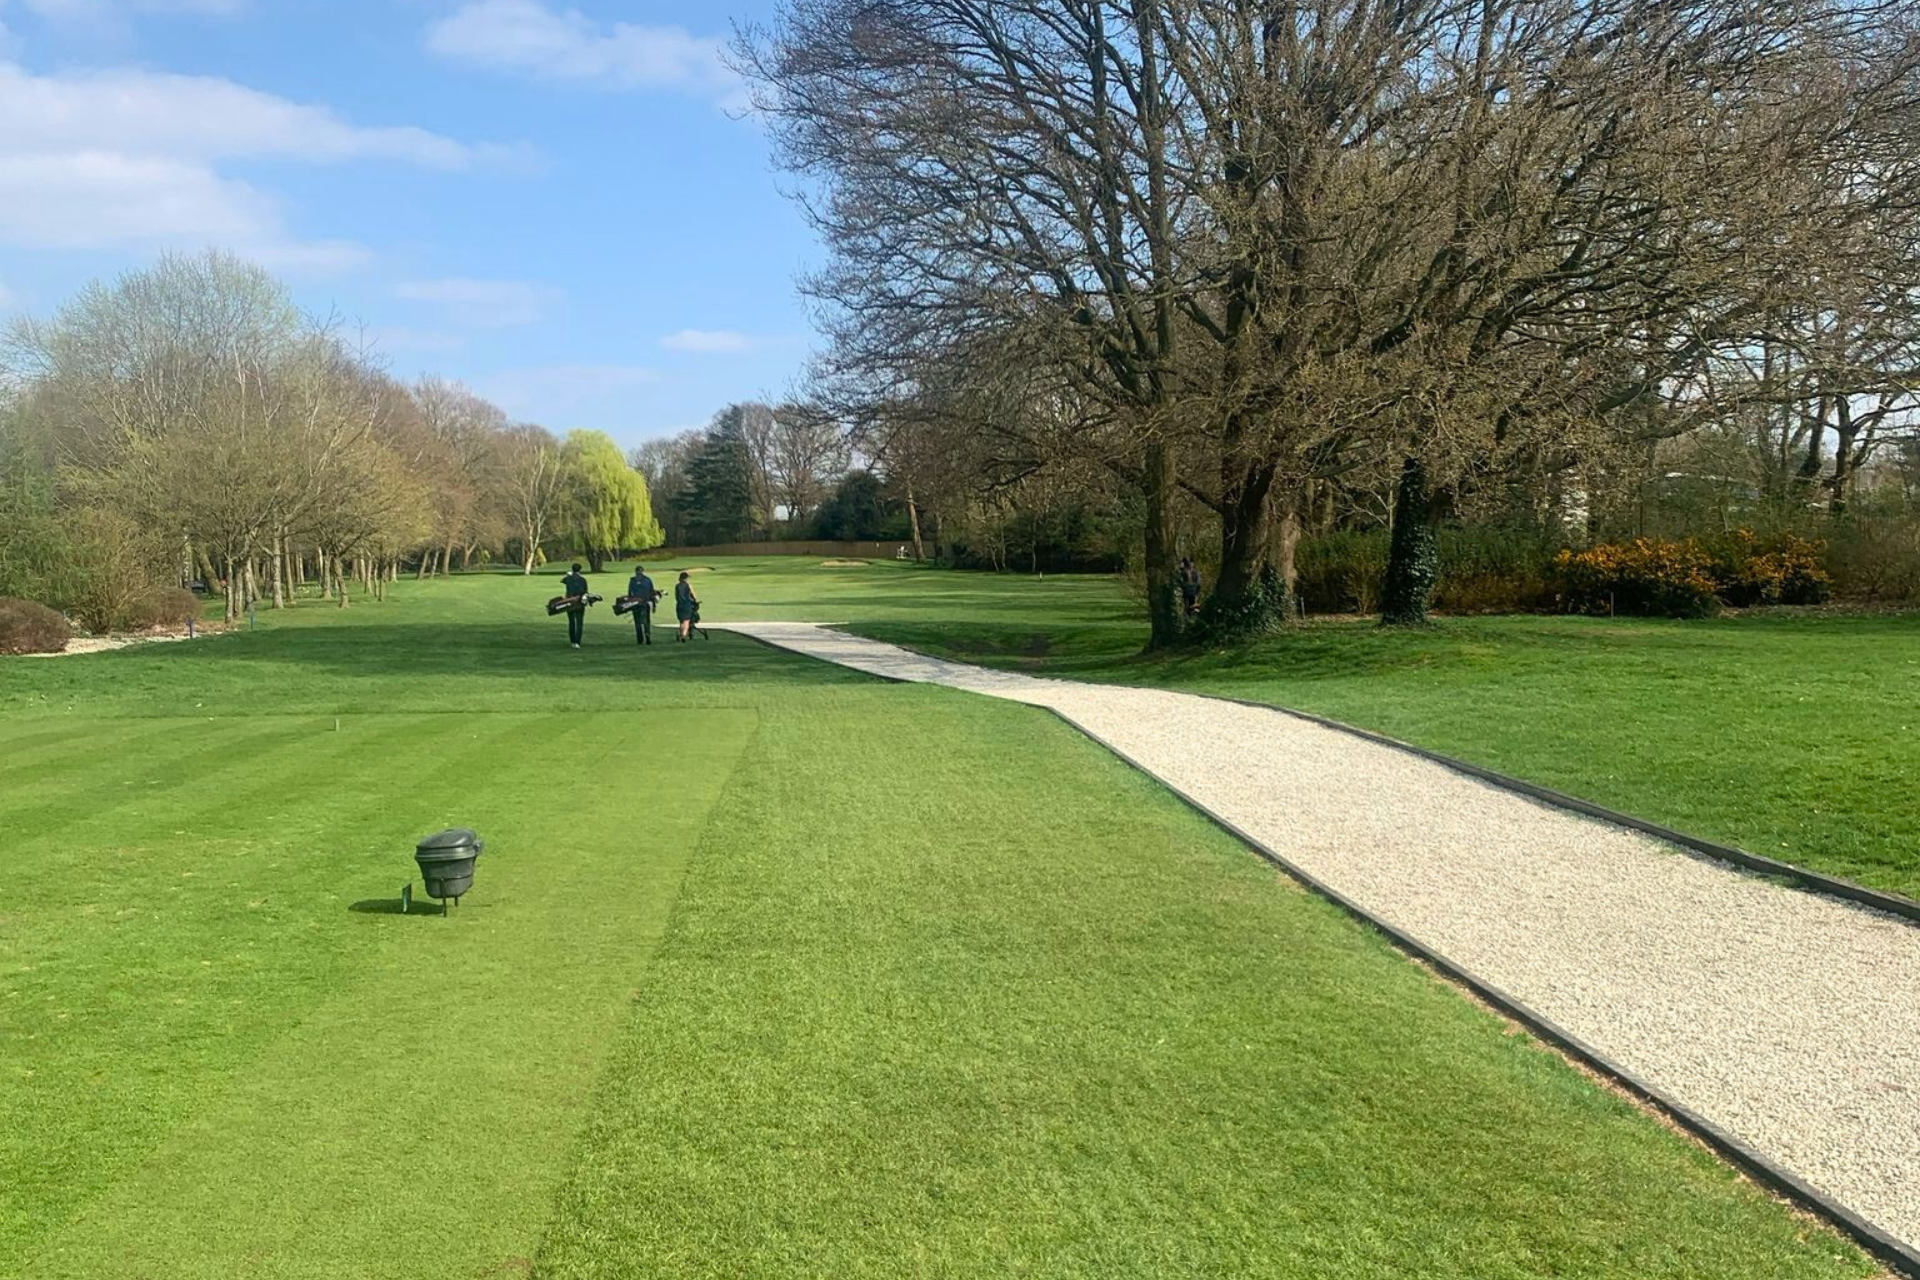
Determining when to utilize a grid solution is vital for successful project planning. These systems are particularly effective for high-traffic areas such as residential driveways, overflow parking zones, and commercial access routes. Unlike loose stone which shifts under the weight of turning tires, a reinforced cellular structure holds the aggregate firm. This stability makes them an excellent choice for wheelchair accessibility or paths frequented by cyclists, as the surface remains firm rather than sinking. Furthermore, environmental regulations increasingly demand sustainable drainage solutions. A driveway gravel grid allows rainwater to drain naturally into the ground, reducing surface runoff and helping projects meet permeability standards. Whether working on a heritage property requiring a sympathetic appearance or a modern commercial landscape needing robust ground reinforcement, these grids offer the necessary structural integrity without compromising on the visual appeal of natural stone. They are the superior option whenever load capacity and low maintenance are priority requirements for your client.
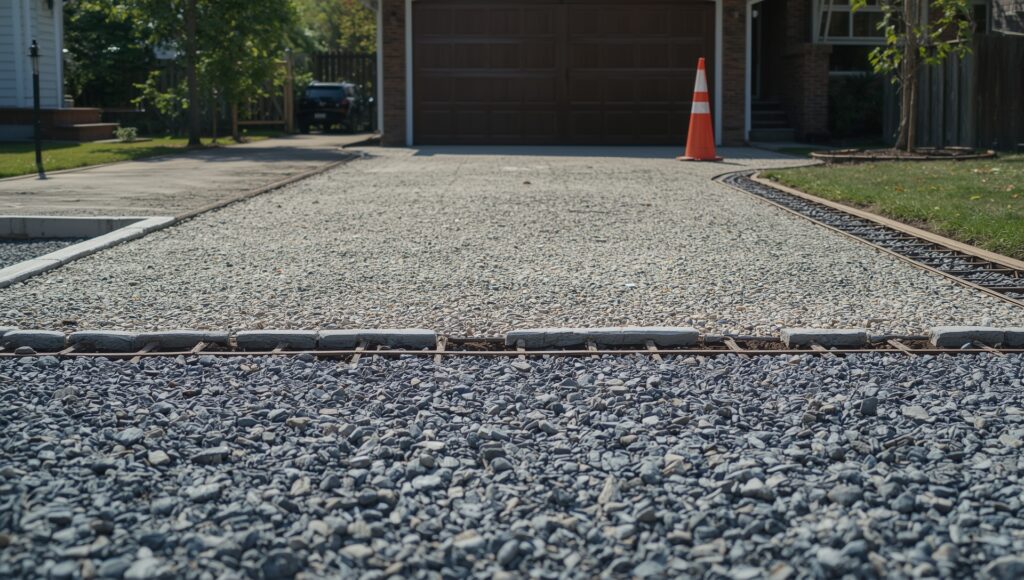
No surface finish can compensate for a poorly prepared foundation. For a professional installation, you must start with excavation to the appropriate depth, ensuring all organic matter and soft soil are removed. The stability of the final surface depends entirely on a solid, well-executed sub-grade. Once excavated, install a geotextile membrane to separate the soil from your stone layers, preventing mixing and weed growth. Next, lay your sub base gravel, typically a sharp, angular stone like MOT Type 1 or Type 3 if permeability is required. Compact this layer thoroughly using a vibrating roller or plate compactor to eliminate voids and potential soft spots. A standard residential project usually requires a compacted base depth of at least 150mm, though heavy-use commercial areas may need more. Ensure the surface is perfectly level and smooth before laying the grids. Any undulations in the base will telegraph through to the final finish, creating high spots that can damage the plastic cells or low spots where gravel accumulates unevenly. Taking time here guarantees the system performs exactly as engineered.
A critical yet often overlooked component of a successful installation is the use of a high-performance separation layer. Incorporating a heavy-duty woven membrane beneath the sub-base not only helps prevent weed growth but also stops the surface layer from migrating. This ensures long-term structural integrity and reduces ongoing maintenance requirements.
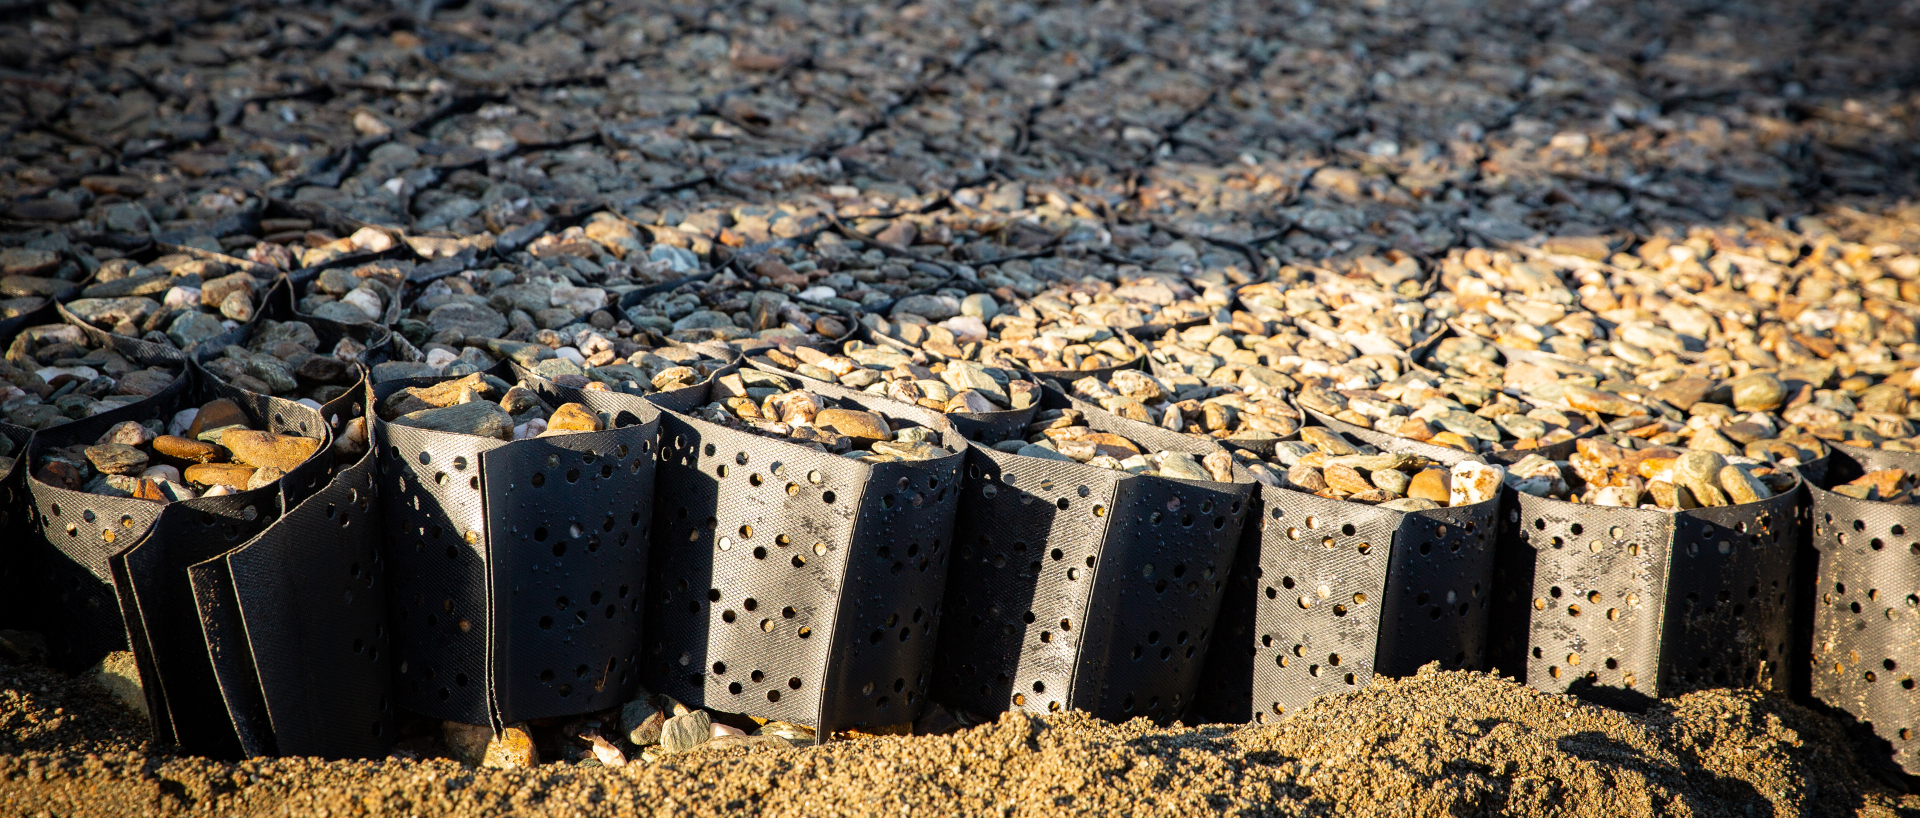
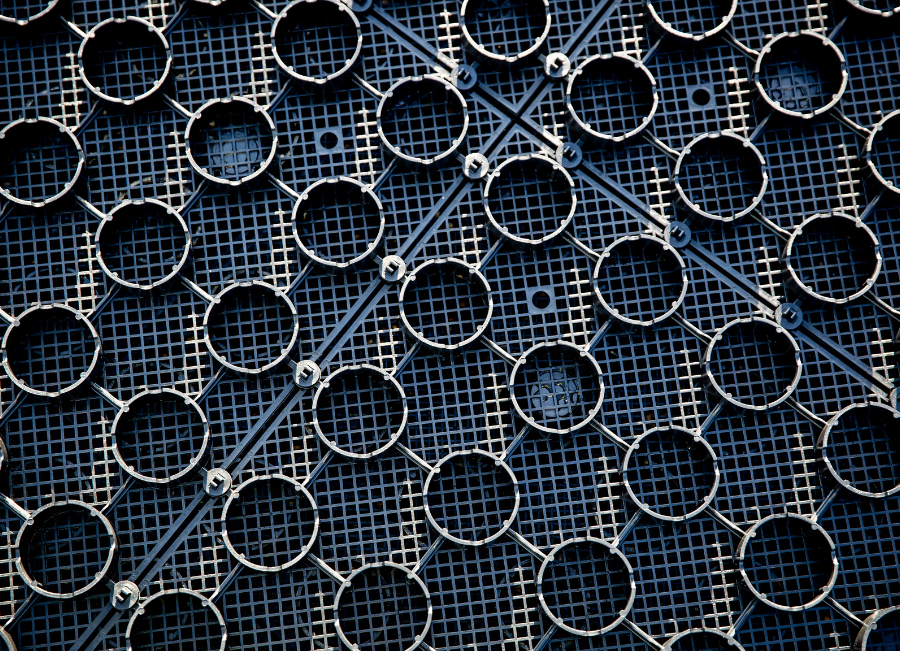
In addition, selecting the right plastic grid for gravel enhances the overall performance of the system by evenly distributing loads and locking the aggregate firmly in place. When combined, these elements create a stable, permeable surface that performs consistently under pressure while maintaining a clean, professional finish.
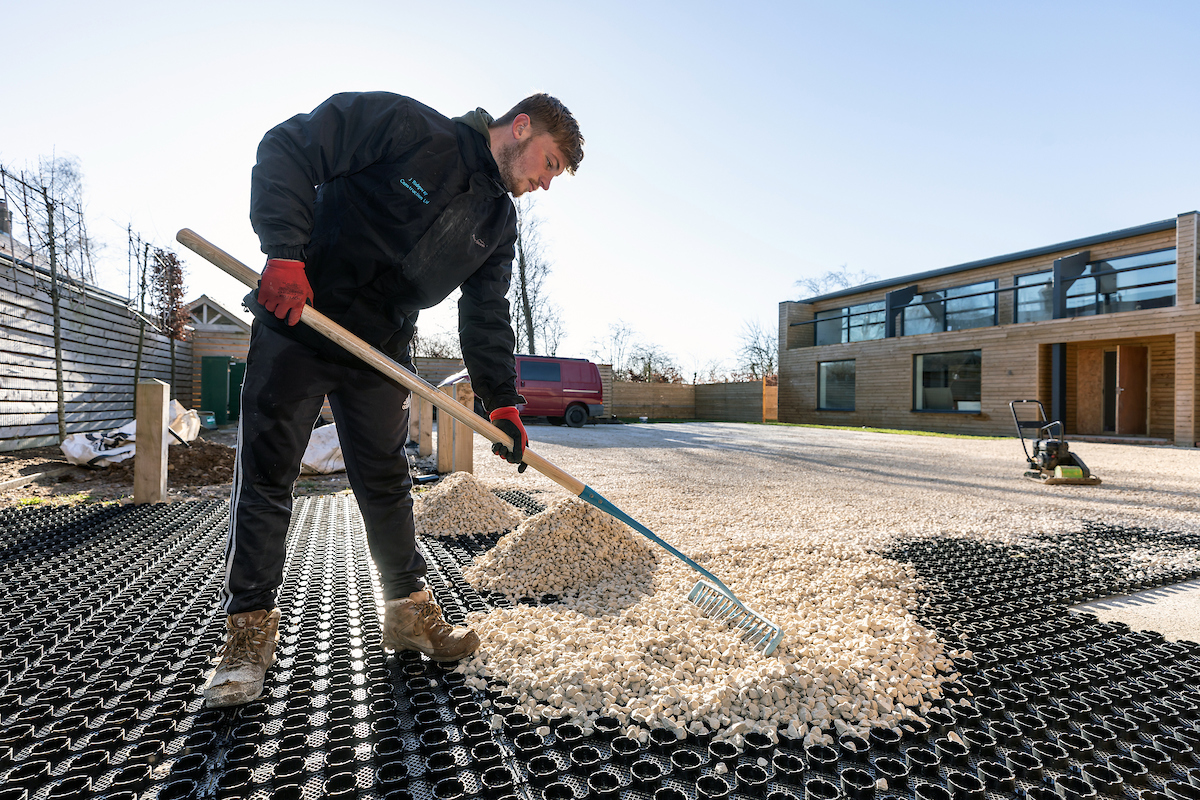
Once the base is prepped, the installation of the grid system is relatively fast. Follow these professional steps to ensure a secure fit and optimal performance.
Even experienced groundworkers can encounter issues if best practices are ignored. One of the most frequent errors is neglecting the edging. Without a robust restraint, the grid panels can shift laterally over time. Always install a concrete haunch, treated timber, or metal edging before laying the main surface to contain the system. Another common mistake is using the wrong type of aggregate. As mentioned, rounded stones move too much within the cells. Stick to angular chippings that lock together. Furthermore, avoid overfilling the cells excessively. While a small covering layer is aesthetically pleasing, too much loose stone on top defeats the purpose of the grid, leading to ruts and difficulty for pedestrians. Finally, ensure the base layer is completely flat. Installing grids over a bumpy surface creates void spaces underneath. This lack of full contact causes the plastic to flex and eventually snap under load, compromising the entire installation.
The difference between a good job and a great one lies in the final detailing. Once the grids are filled, use a rake to grade the surface, ensuring the plastic edges are just barely covered. The goal is to hide the grid structure while keeping the gravel layer thin enough to remain stable. This creates the illusion of a deep, loose gravel drive with none of the drawbacks. A light compaction of the final surface can help settle the angular stones into the cells immediately. Advise your client that the surface is low maintenance but not zero maintenance. Over time, fines may accumulate, or gravel levels might drop slightly due to compaction. A periodic rake or a small top-up of fresh stone will keep the driveway looking pristine. Delivering this advice helps manage client expectations and demonstrates your expertise in delivering a high-quality landscape solution.
Delivering a superior result requires the right components and attention to detail. By ensuring a solid sub-base and selecting a premium reinforcement system, contractors can eliminate the common headaches of gravel migration and maintenance. The result is a satisfied client and a portfolio piece that looks immaculate for years. Beauxfort offers advanced solutions designed to make installation faster and performance reliable. For technical specifications, installation guides, or to view our range of professional ground reinforcement products, please visit our website.